Creating Projects
The Projects area is where the magic happens!
In the project builder, there are three main panels (also shown below):
- Settings/Options: This panel is your control center for project settings.
- Chat Panel: Where you interact with the chatbot and brainstorm.
- Documents Panel: For creating and managing documents.
You'll find buttons (marked 4 below) at the top center to hide/show the Settings panel, minimize Chat or Documents, or expand them for a full-screen experience.
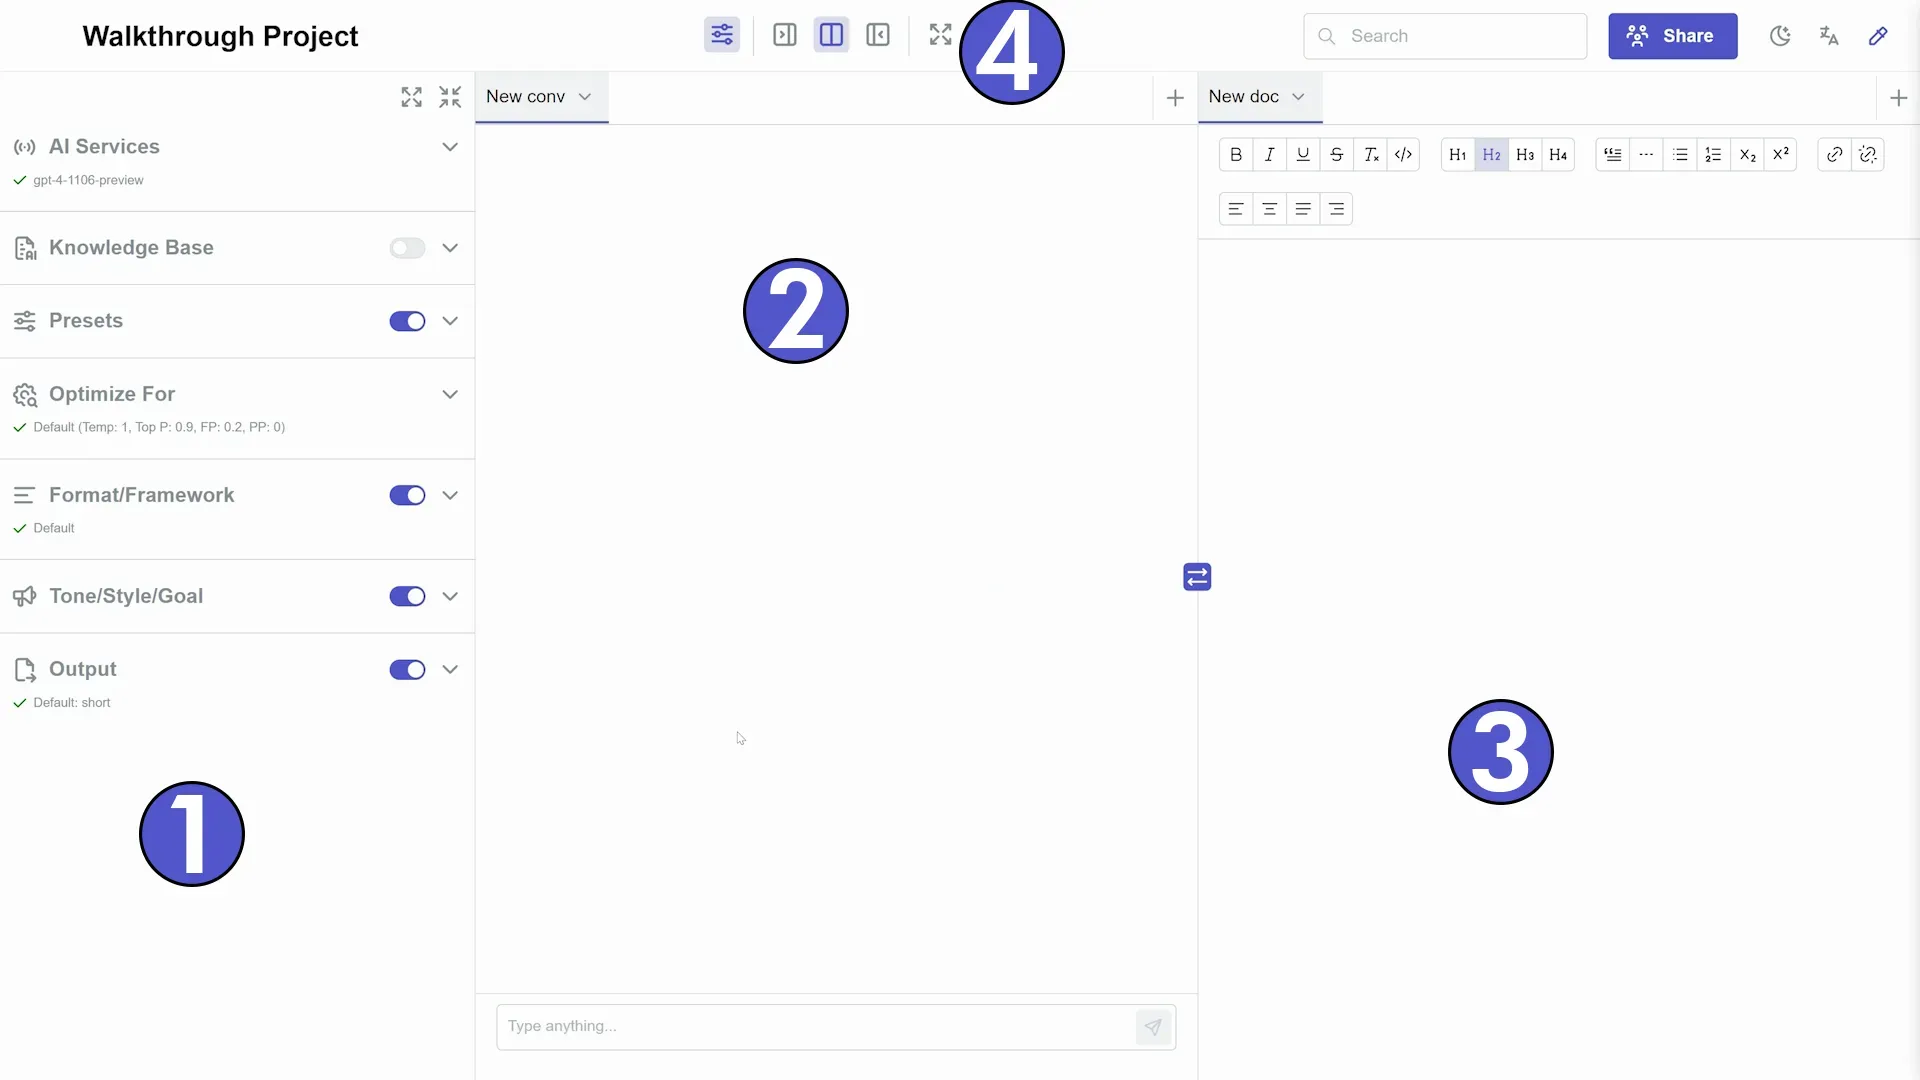
The Settings panel is divided into 7 sections, each with its own dropdown menu.
AI Services
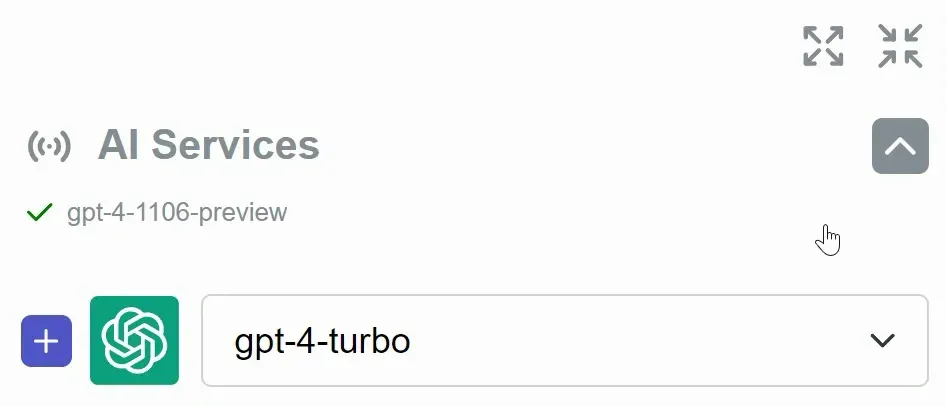
Here, you can select an AI service and model that best fits your project needs. This choice determines the underlying AI technology that powers your project.
Knowledge Base
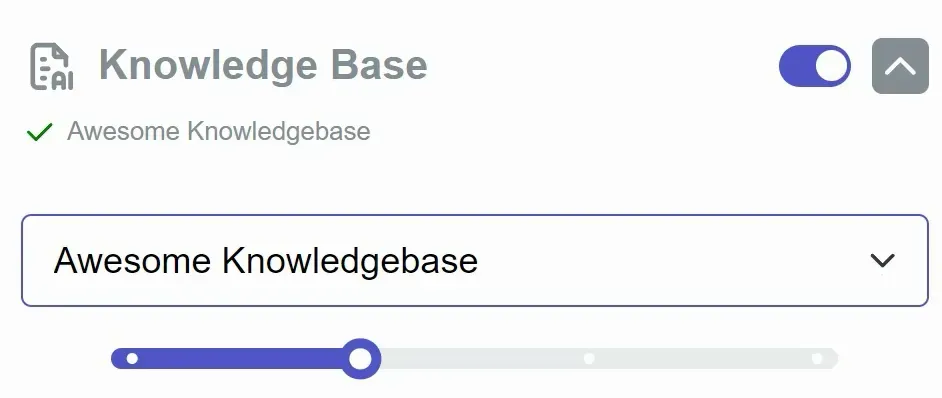
This section features a toggle switch to activate or deactivate a Knowledge Base. If turned on, it utilizes a Knowledge Base that you've previously created, allowing the AI system to use it as a memory reference.
Presets
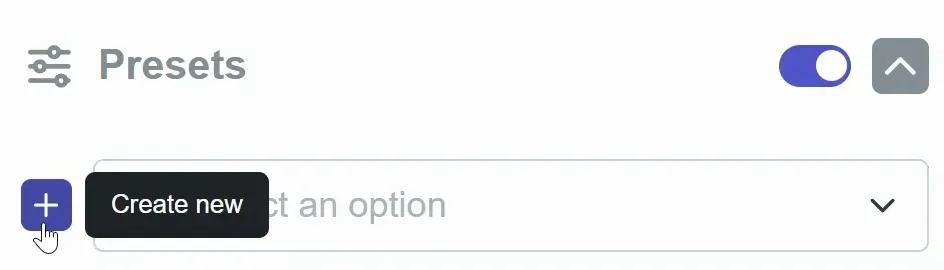
The Presets section is designed to fine-tune your project's writing style and target audience. It includes a toggle for activation, a dropdown to choose preset writing styles, and a plus button to create new presets (which pops up a window as shown below).
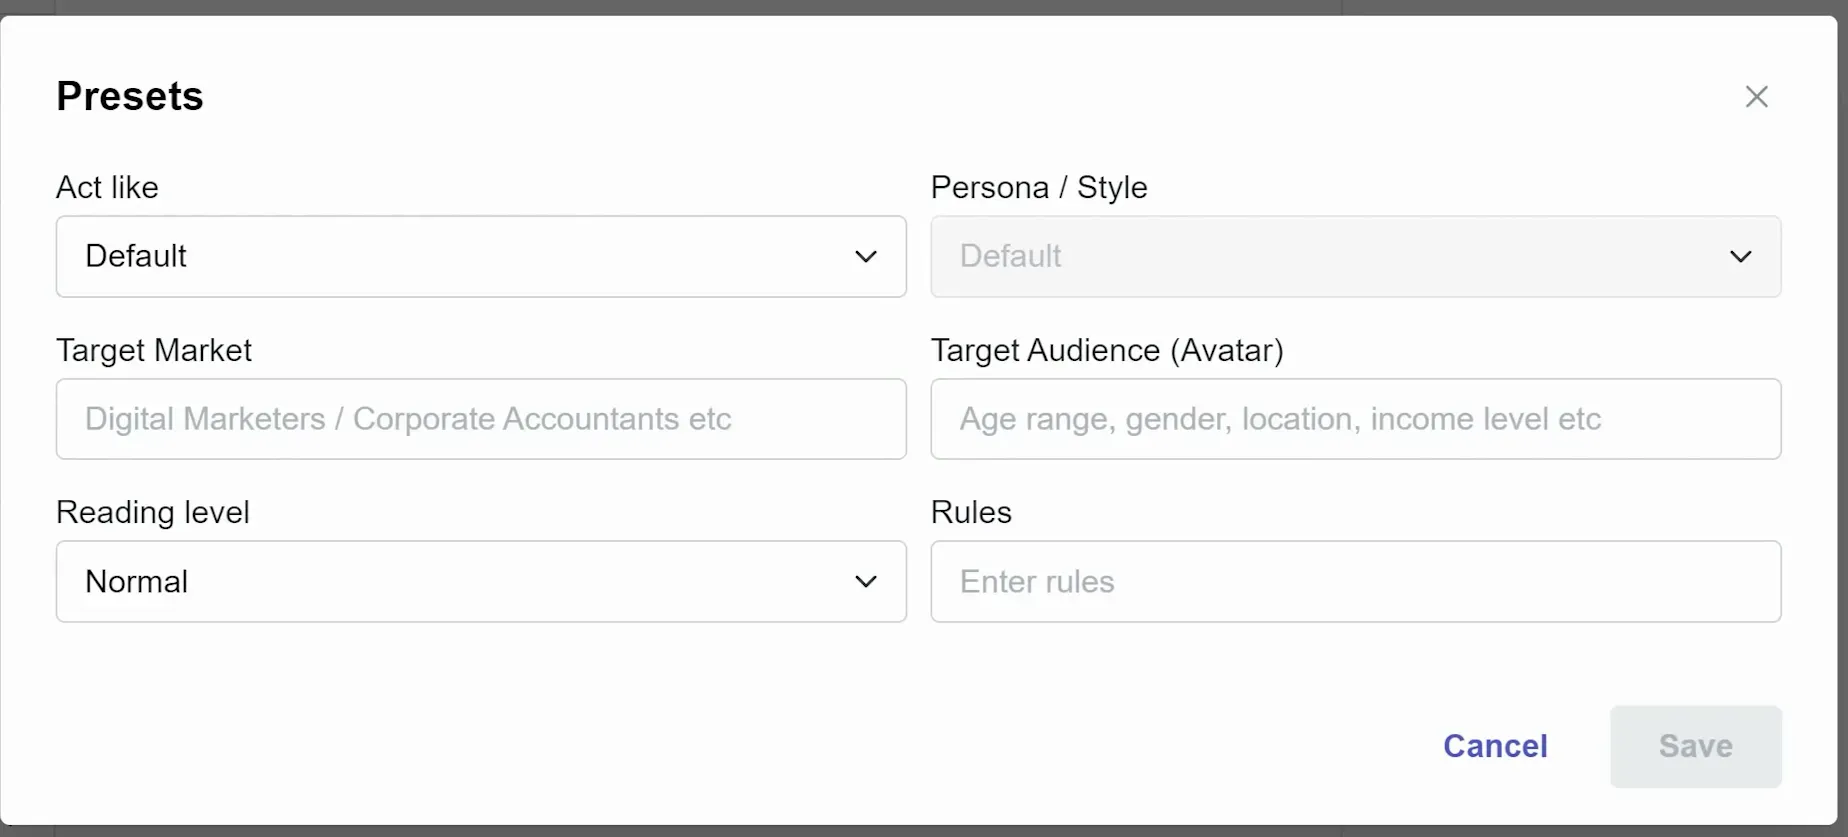
This would also be where you can set the reading level and establish specific rules, like avoiding mentions of certain brands.
Optimize For
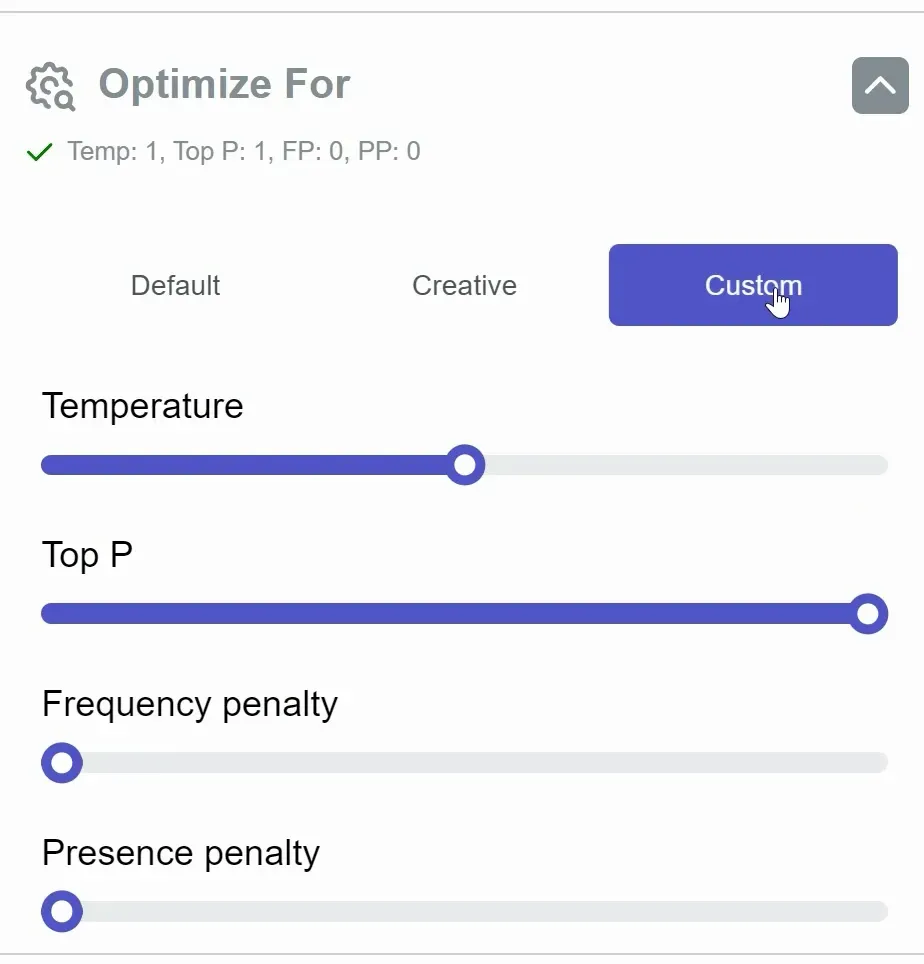
This is where you can adjust how creatively the AI responds. You have three main options: Default, Creative, and Custom. The Custom option allows for fine-tuning of elements. It's recommended to experiment with these settings once you're more familiar with the platform.
However it includes:
- Temperature - controls the randomness of responses
- Top P - manages diversity in responses
- Frequency Penalty - affecting repetition of words
- Presence Penalty - which influences the introduction of new topics.
Format/Framework
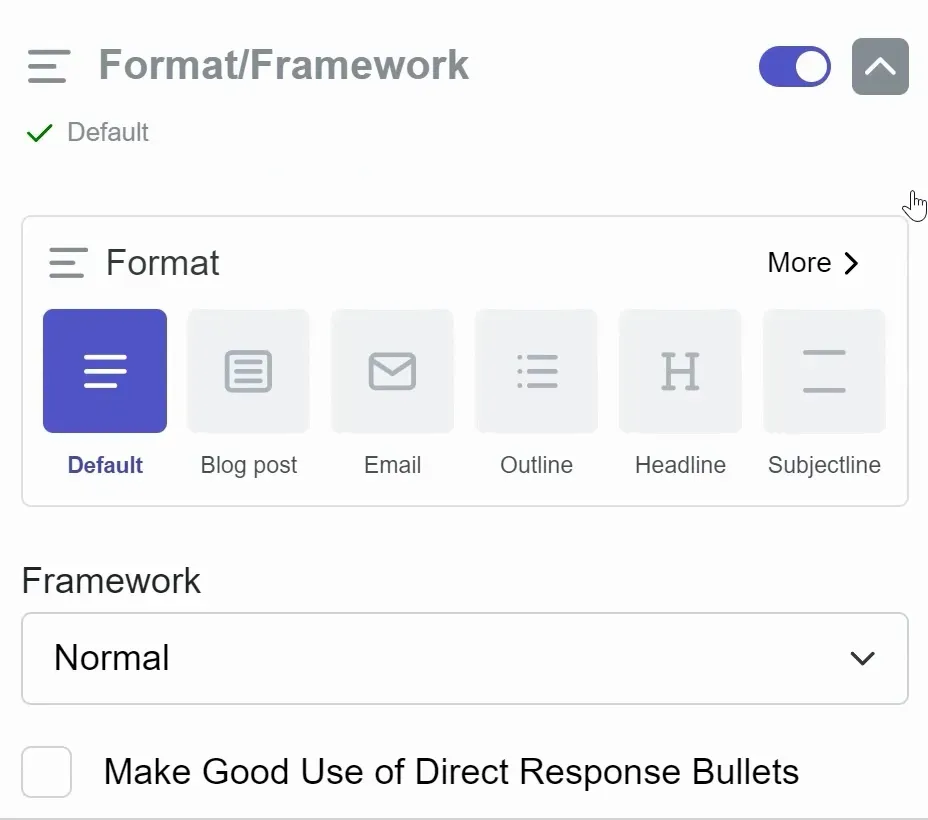
In this section, you can switch on or off different formatting options. You have a choice between six default formatting options like Blog Post, Email, Outline, etc., and a link to access many more options. Below this, there's a 'Framework' dropdown offering frameworks like AIDA, PAS, and the 4 P's. Additionally, there's a checkbox to enable Direct Response Bullets, a feature that helps integrate persuasive bullet points into your content.
Tone/Style/Goal
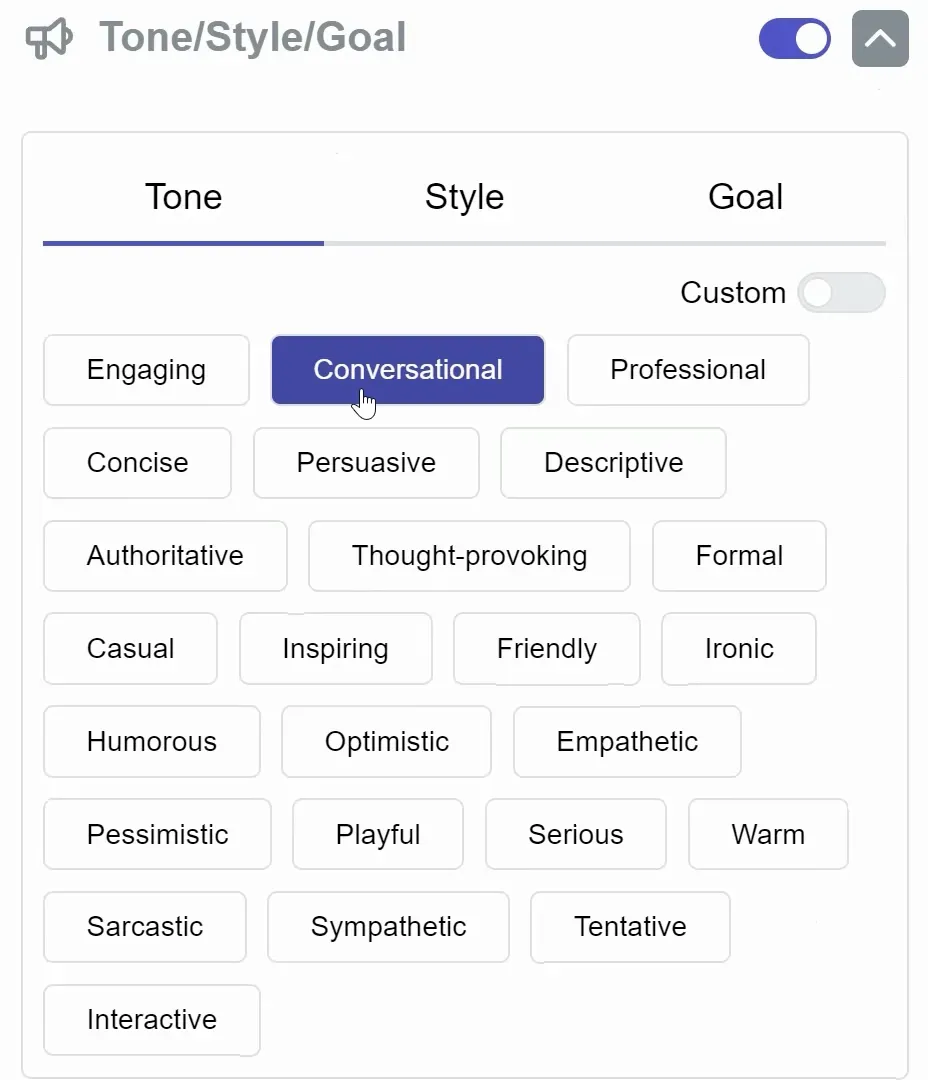
Tailor the tone, style, and goal of your content here. Each category offers a range of adjectives to choose from – for example, 'Tone' includes options like conversational or playful, 'Style' offers choices like creative or journalistic, and 'Goal' encompasses aims like SEO optimization or upselling products. There's also a 'Custom' toggle for inputting specific text to guide the AI.
Output
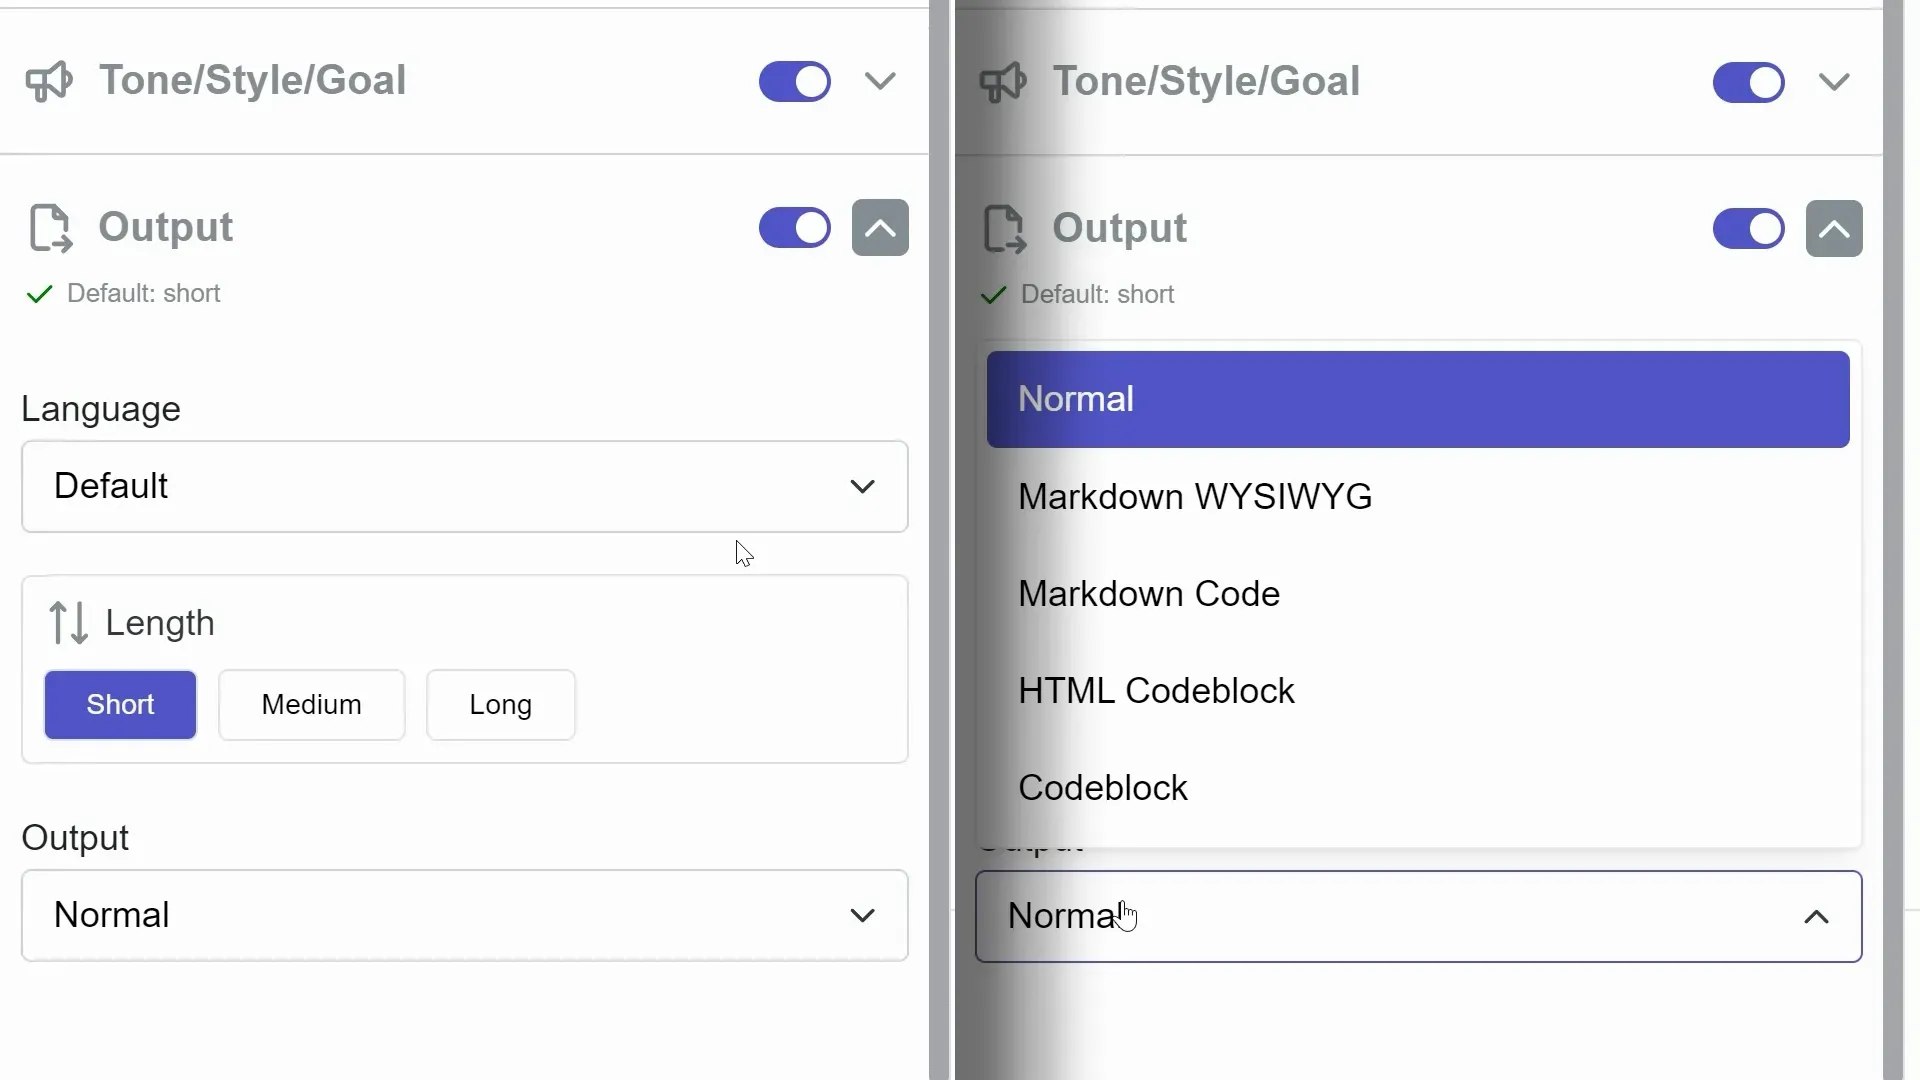
Lastly, the Output section lets you control the final presentation of your content. It includes a language dropdown, options for content length (Short, Medium, Long), and various output formats like Markdown WYSIWYG, HTML Codeblock, and more.
This final step ensures your content is in the perfect format for your needs.
Each of these settings in the panel significantly impacts the behavior and output in the Chat and Documents panels, giving you a high degree of control over your project's AI-assisted development.
The Chat Panel
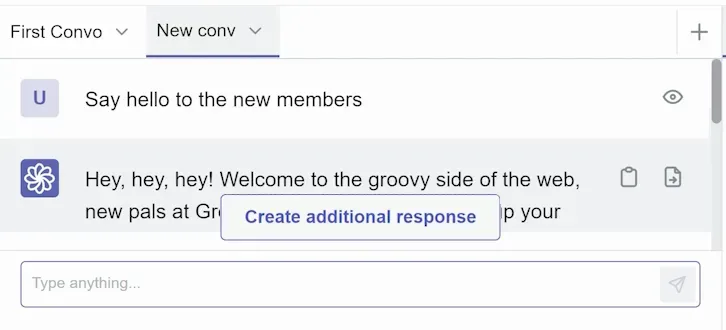
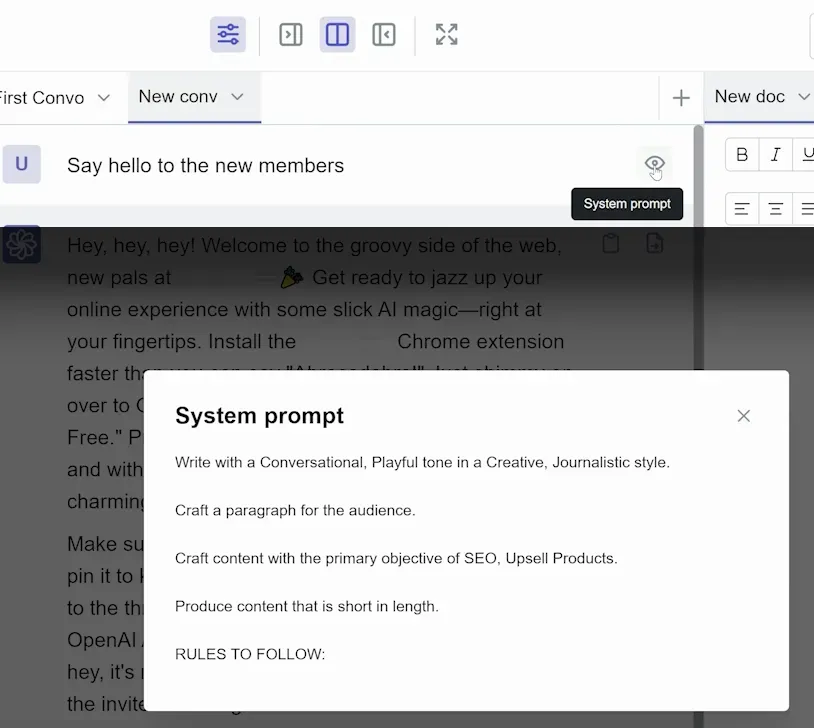
In the Chat panel, you can engage in conversations with the chatbot. You can manage multiple conversations through tabs at the top. Type your query, and the chatbot responds based on your settings. Use the eye icon to view the full prompts that were used for your chat (as shown below).
Next to the responses from the chatbot, there is a copy icon and Move to Document icon. If you press "Move to Document" it will move the entire response to the document where your cursor is currently selected.

The Documents Panel
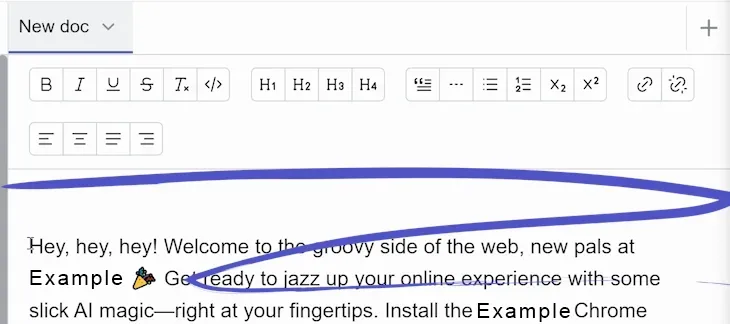
The Documents panel is your workspace for finalizing content. Organized similarly to the Chat panel, it features a WYSIWYG editor (underlined above). This is where your brainstorming in Chat turns into a polished final product. Both Chat and Document panels have an 'Ask AI' feature (shown below).
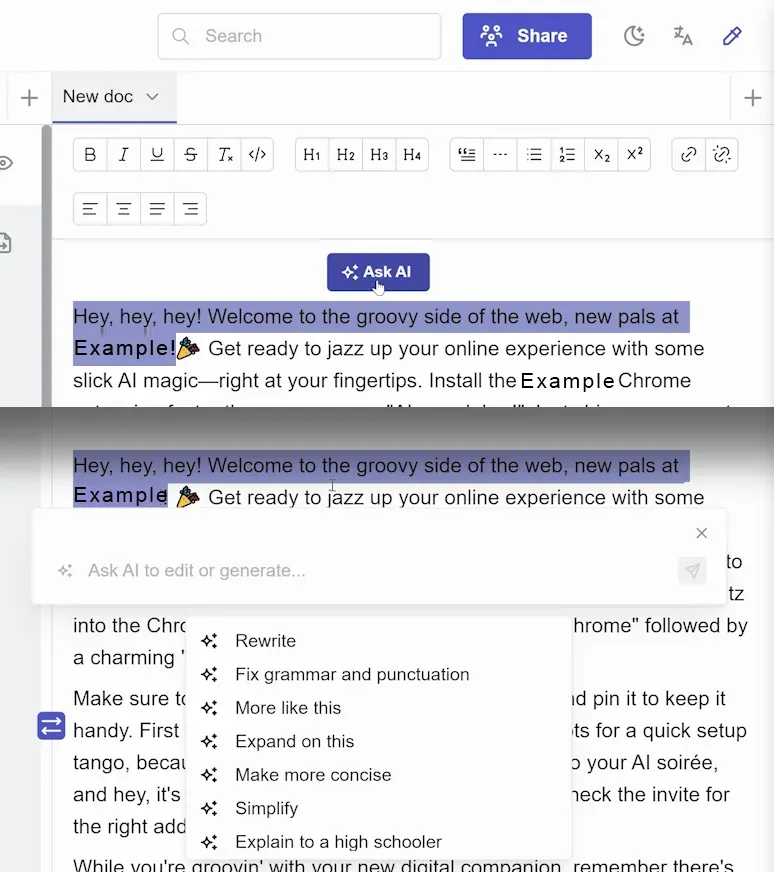
Highlight any text and click 'Ask AI' for options like 'Rewrite' or 'Expand on this'. You can even input custom requests for tailored outputs.
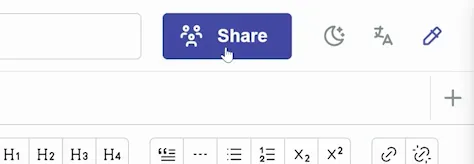
Finally, if you want to collaborate, click the 'Share' button at the top right to invite others to your project. It’s a great way to work together and get feedback.